Change my wifi ip address
You need to change my WiFi IP address if you are experiencing a problem with your wireless connection that is sticking in one place. The issue that you are having probably has to do with the Wireless Networking Setting in your router. In order for your settings to change, you need to go to the Control Panel u003e System and Security u003e Wireless Networking Setting and change the IP address that is associated with the default username. This step will make any changes that are necessary.
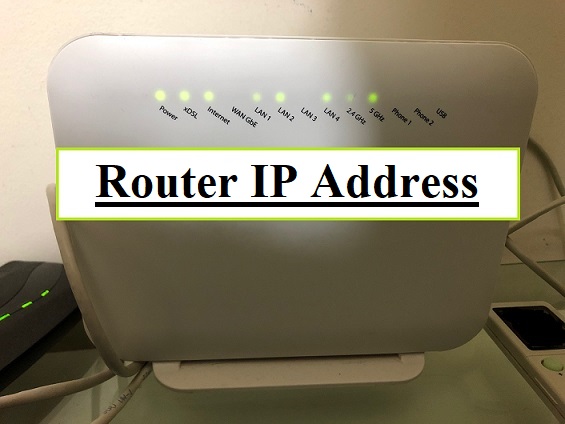
When you have done this, you should check your modem and see what kind of settings it is using. You can usually find this by going to ‘Control Panel’ and then clicking on ‘Wireless Internet Connection.’ If you have a wireless printer, this setting may also be found there. Usually, the printer will have an icon that looks like a globe with two circles for networks. Click the ‘itech router’ icon. You will then see a window pop up with three radio buttons and a number of numbers.
You will need to put the digits into the box and then click the ‘reset’ button. This will reboot your modem so that it will pick up the new IP address. Typically, after you have done this, you will see a message saying ‘Network reset detected.’ If your modem is not working, you may need to call your service provider to help you find out how to change my wifi IP address.
Change my wifi ip address
You can also reset your wireless router by going through the instructions on the manufacturer’s website. On most models, you will get a reset button or a power button. To change my WiFi IP address, you will need to press and hold these buttons until you hear a chirp. The chirp will indicate that a test is about to begin.
Then, you will power down your modem. Hold down the reset button to power it down. After the modem restarts, you can change your WiFi IP address with a special command line package. This package is different from the ones that come with your basic modem, just like the ones that come with your home phone or cable modem. The difference is in the way it works.
You will not see the reset button when you are configuring your connection to the internet with a WEP network. Instead, you will get a series of symbols. Click on one of them, and it will tell you that you are now ready to enter your WEP code. Enter your WEP key (usually “secret word”) and then hit enter. You will now be able to change your two computers’ IP addresses to that of your primary computer.
Changing your wireless router’s settings to match your new IP address is fairly easy. Just follow the same steps above, but this time, use the directional arrow icon in the task bar to show your current setting, and then use the right arrows to go to the WEP tab. When you want to change your two computers’ IP addresses, you will need to use this new tab instead of the standard radio buttons.
To change your wifi connection’s IP, connect your laptop or computer to your modem, and then look for the Wireless LAN tab. You will see a new setting called “ip address” or just simply “IP.” Double-click on it to display the configuration utility. It may ask you to reboot your computer to activate the change. Follow the step by step instructions, and you will be able to quickly change your 2 step 2 Wireless LAN passwords to your own personal ones.
<